iRoot is a One click Android root tool. Since it’s first release this app has achieves a lot. Now this tool support all most all Android phones, tablet and devices. Contains two version iRoot APK and iRoot for PC. Many Android users want to root their devices due to the advantages get after rooting. The most important thing is, you can root your android for free using this tool. Free means absolutely free.
Download iRoot APK


| Download link: | Download Now |
|---|---|
| Name: | iRoot APK |
| Version: | v3.2.4 |
| Size: | 8.8 MB |
| Category: | Android |
| Info: | One click Android root tool |
iRoot APK
iRoot APK is the best one click Android root tool. You can directly download iRoot apk to your phone or tablet and root without using a computer or PC. Root with iRoot is much more easier than you think. If you think you may need someone else help. No. You don’t need others help. You can do it by yourself. Because in this article I will describe all the things or step by step required to follow when rooting. It does not involves harder procedures or expert knowledge.
How to Root with iRoot
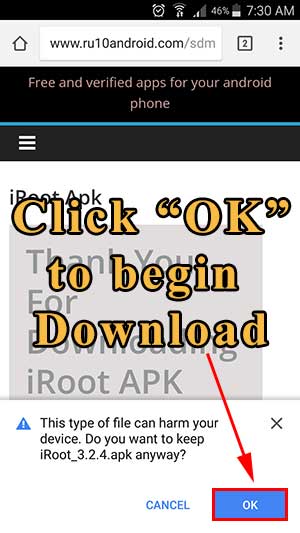
Step 1: Download iRoot APK
In order root Android and keep root access we need a tool. Here we are using iRoot apk. click here to download iRoot APK. Sometime download will be blocked. Click “OK” to continue download.
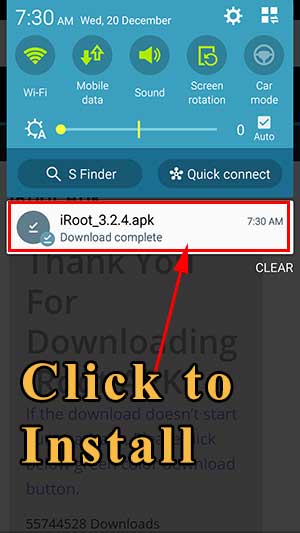
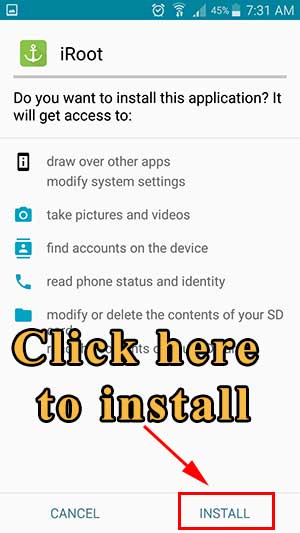
Step 2: Install iRoot APK
After download complete check your notifications or browser downloads tab to find downloaded file. Click on that to begin installation. Installing iRoot app or root tool is slightly different than installing a normal app. Because this tool can break limits enforced by Android System and unleash it’s full potential. Therefore Android system tries to prevent installing this app. Don’t worry. Follow below picture guide for successful installation of the iRoot.
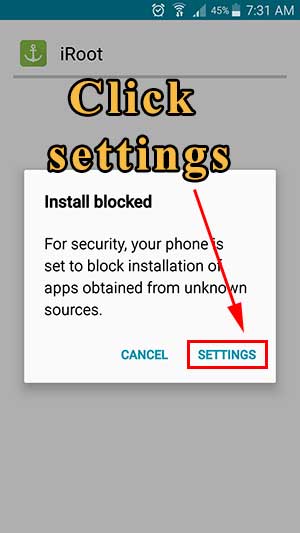
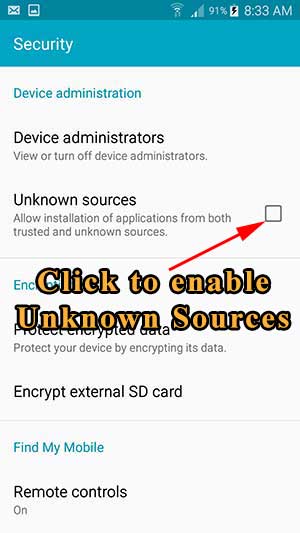
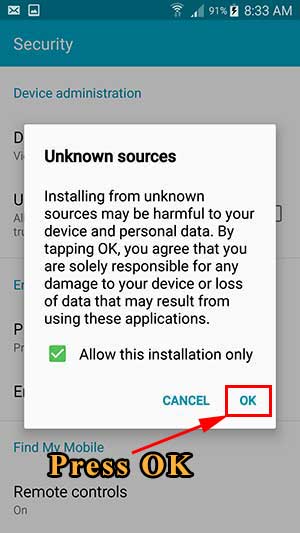
Before installation start you will receive “Install Blocked” message. In order to continue you have to enable “Unknown Sources” from settings. Follow below picture guide to enable it. Once “Unknown Sources” enable, you will automatically redirect to iRoot installation menu.
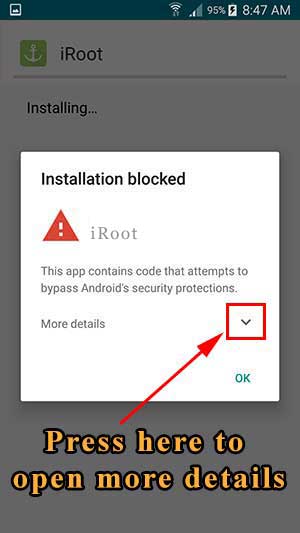
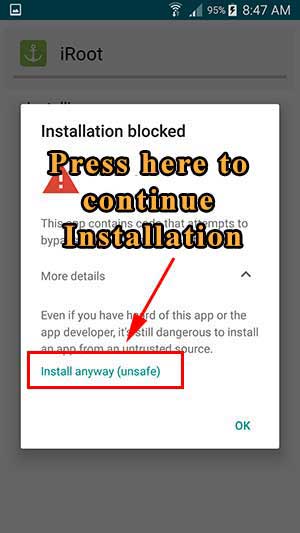
After enabling Installation will continue as normal. If you receive “Installation Blocked” message like below, click “Install anyway” button. Follow below picture guidelines for that.
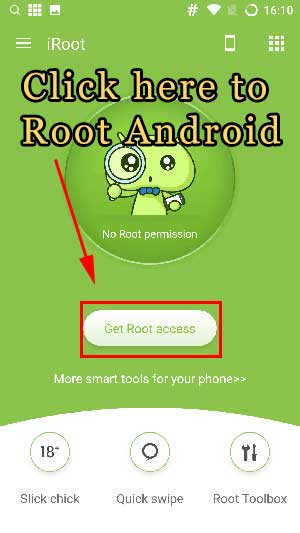
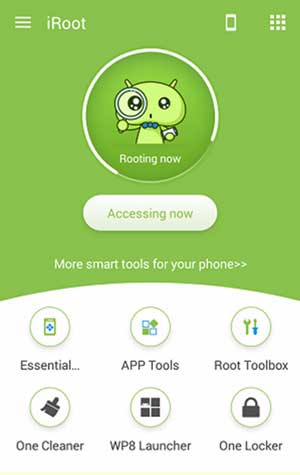
Step 3: Root Android with iROOT.
Open iRoot app after installation complete. You can see “Get Root Access” button. Click that button to start rooting. Rooting process will take some time and includes reboots for some devices. You have to be patient here. Finally you will receive get root success message.

Step 4: Verify Root access
You can check that iRoot has done it’s job right by using rootChecker app. Click here to verify root access.